waldo kent
Registered user
Registered: 08-2010
Posts: 178
Karma: 1 (+2/-1)
|
|
Reply | Quote
|
|
Re: Waldo's Build
quote:
littledragon88 wrote:
Nice progress! Can't wait to see your finished result of that back panel, looks great so far.
How's your cat enjoying your built? 
Which cat? I have about 19 from Post Hurrican Katrina. Some of them endured 10 feet of water, with no food or water for a month. Then another hurricane 2 weeks after Katrina. I've had them all fixed and take care of them. We've found homes for a few. It's the least I could do for them.
---
Jeffrey Kent
TK 5738
Facebook
SKYPE Me: jeff.kent63
|
|
12/19/2011, 10:05 am
|
Link to this post
Send Email to waldo kent
Send PM to waldo kent
Blog
|
littledragon88
Registered user
Registered: 05-2011
Posts: 178
Karma: 3 (+3/-0)
|
|
Reply | Quote
|
|
Re: Waldo's Build
That is good to hear Waldo. Keep up the good work!
---
http://lotinlife.wordpress.com
|
|
12/19/2011, 12:19 pm
|
Link to this post
Send Email to littledragon88
Send PM to littledragon88
Blog
|
GordonTarpley
Registered user
Registered: 06-2011
Location: Tampa, FL
Posts: 303
Karma: 4 (+4/-0)
|
|
Reply | Quote
|
|
Re: Waldo's Build
I've been planning on doing this mod as well. Seems like a great idea. excited to see how yours comes out. What size magnets will you be using?
|
|
12/19/2011, 1:03 pm
|
Link to this post
Send Email to GordonTarpley
Send PM to GordonTarpley
Blog
|
waldo kent
Registered user
Registered: 08-2010
Posts: 178
Karma: 1 (+2/-1)
|
|
Reply | Quote
|
|
Re: Waldo's Build
not sure yet.
---
Jeffrey Kent
TK 5738
Facebook
SKYPE Me: jeff.kent63
|
|
12/19/2011, 1:29 pm
|
Link to this post
Send Email to waldo kent
Send PM to waldo kent
Blog
|
littledragon88
Registered user
Registered: 05-2011
Posts: 178
Karma: 3 (+3/-0)
|
|
Reply | Quote
|
|
Re: Waldo's Build
I used these. 2 or 3 on each corner. I am surprised of how strong these are, it will take some FORCE to actually detach the back panel once 8 (12) of these magnets are on. Highly recommended! I once worried about the magnets not being strong enough, such that the panel might fall off accidentally. But works like a charm.
Just make sure you put these magnets on the right way on both the back and on the panel before you bondo or glue them on (something I forgot. I had one corner where the magnetic force worked against eachother...DOH! Took me some time to fix that).
http://www.ebay.com/itm/270838019918?ssPageName=STRK:MEWNX:IT&_trksid=p3984.m1439.l2648
---
http://lotinlife.wordpress.com
|
|
12/19/2011, 6:20 pm
|
Link to this post
Send Email to littledragon88
Send PM to littledragon88
Blog
|
waldo kent
Registered user
Registered: 08-2010
Posts: 178
Karma: 1 (+2/-1)
|
|
Reply | Quote
|
|
Re: Waldo's Build
Thanks for the info and good luck on your trip. hope you made a list of all of the parts. Keep us informed.
---
Jeffrey Kent
TK 5738
Facebook
SKYPE Me: jeff.kent63
|
|
12/19/2011, 8:08 pm
|
Link to this post
Send Email to waldo kent
Send PM to waldo kent
Blog
|
waldo kent
Registered user
Registered: 08-2010
Posts: 178
Karma: 1 (+2/-1)
|
|
Reply | Quote
|
|
Re: Waldo's Build
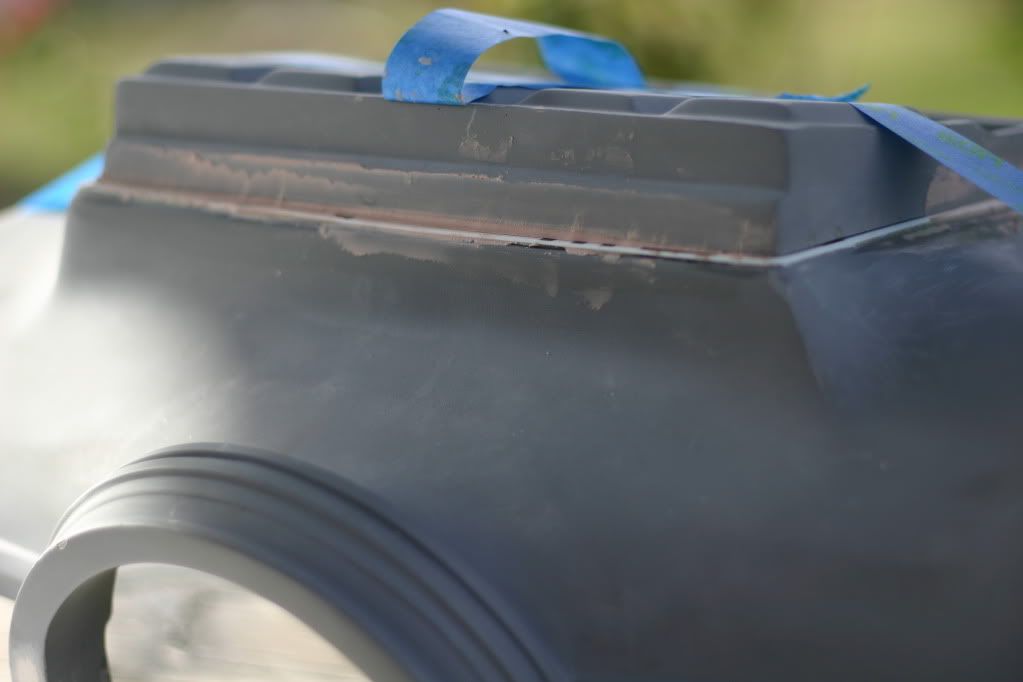
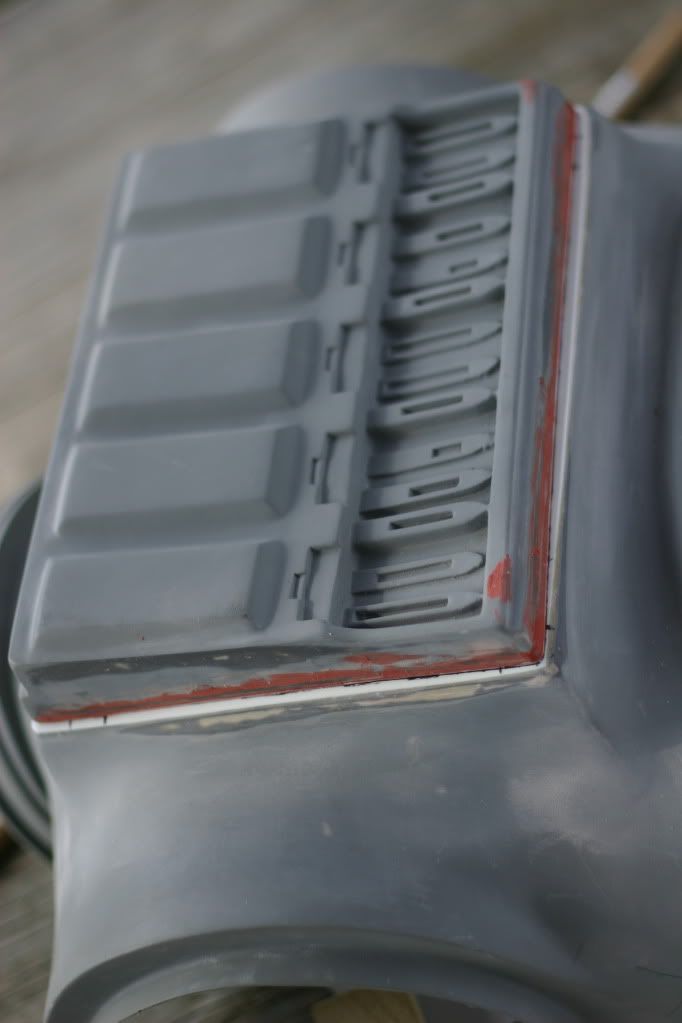
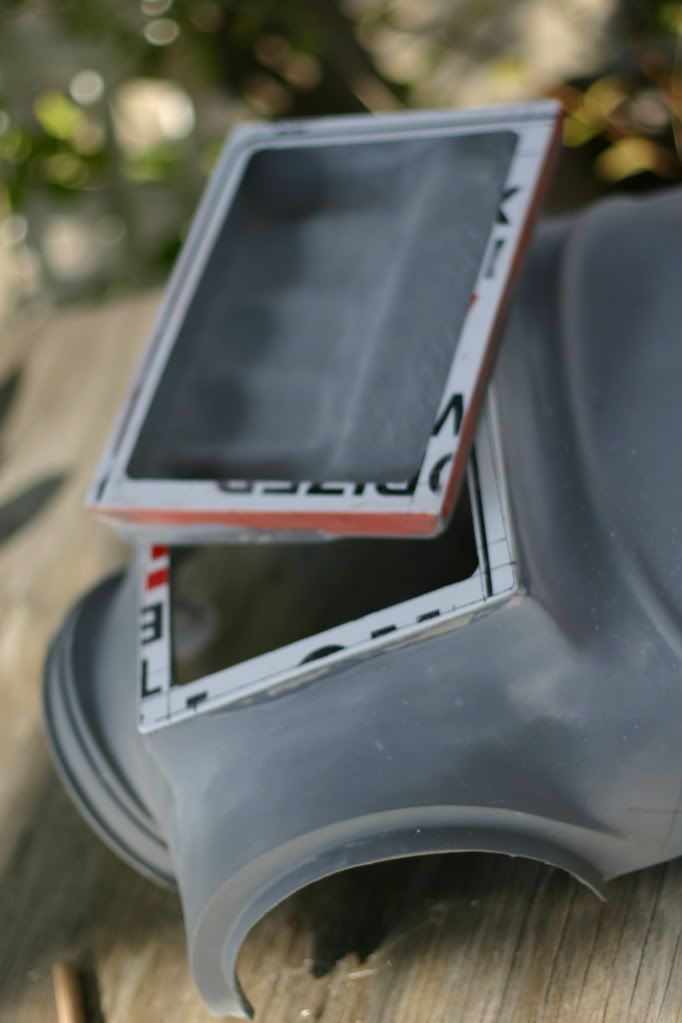
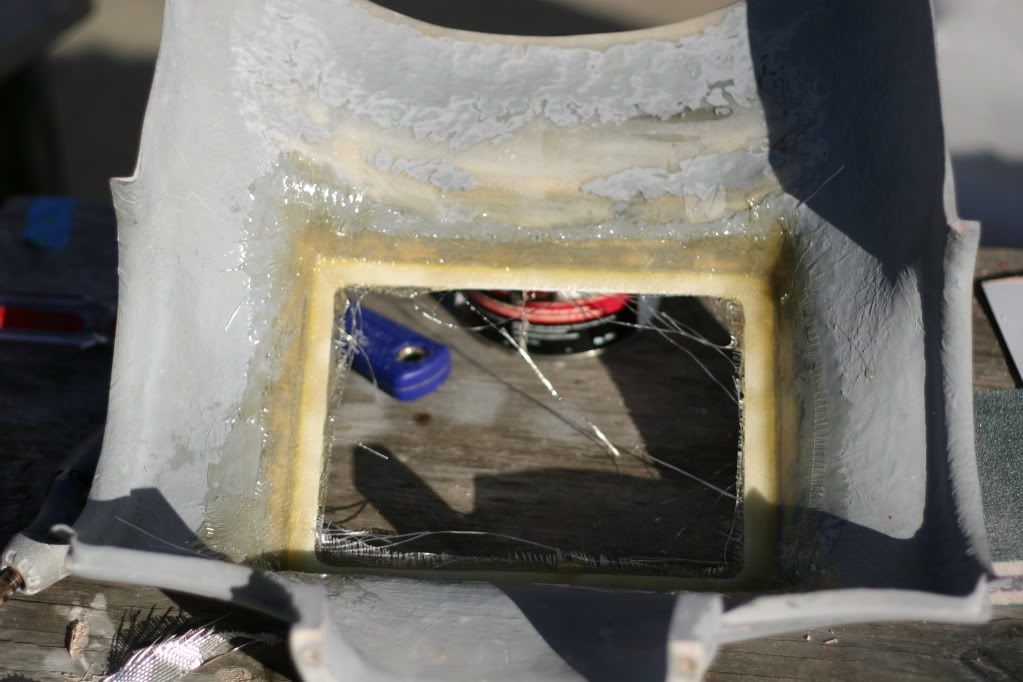
Since I'm using sign plastic it's important to reinforce it from the inside because it is flexible. You don't want your seams coming apart.Cut strips of fiberglass mat and brush inplace. I imagine if you can't fiberglass you can probably add hot glue (don't melt the plastic) or blobs of 5 min epoxy.
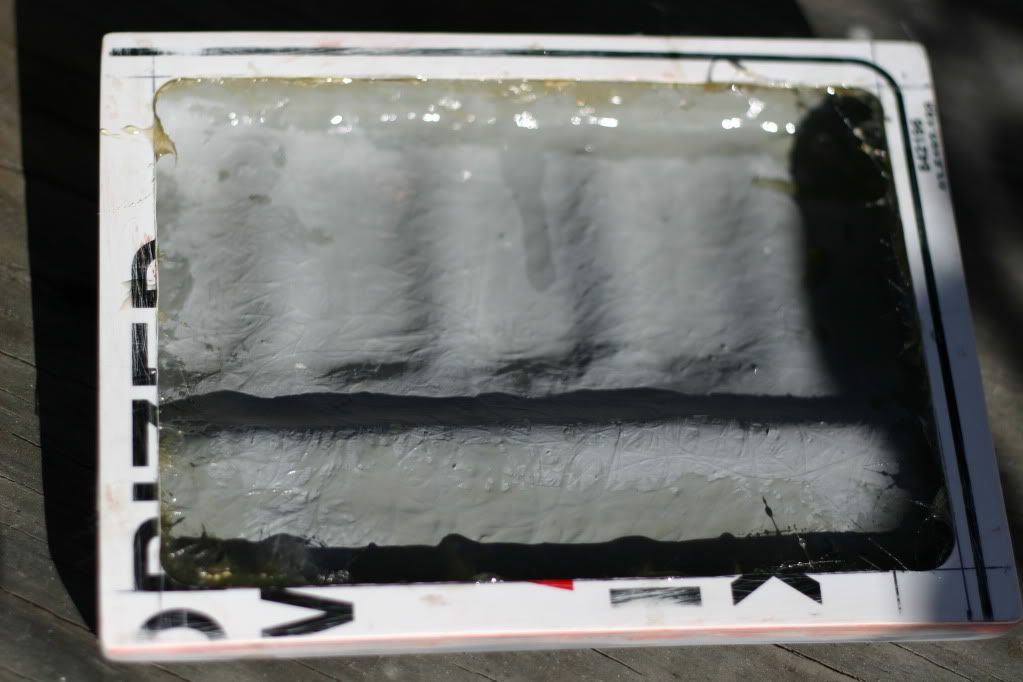
Once cured, sand and clean for priming.
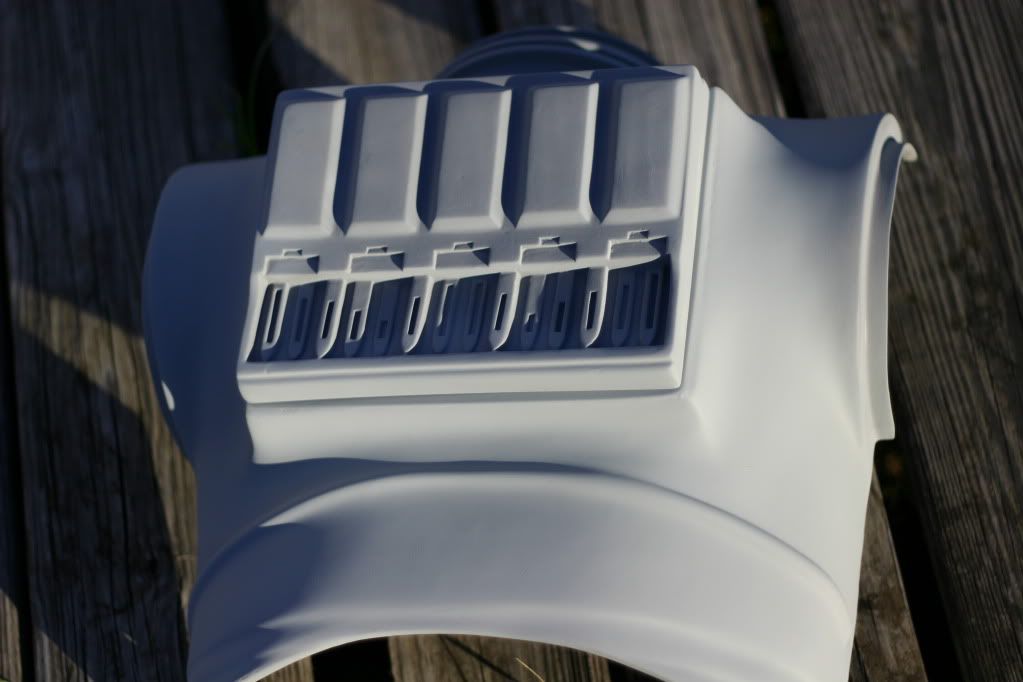
Once primed look for pits and gaps then fill. Sand and reprime.
UPDATE ON LEG RIGGING
If you look at my very first post you'll see how I'm using bunjee cords hooked at the shin knee and hooked to the top of the thigh. After trying the shorts on there wasn't much room for that. This is from what I gathered is the way most builders attach their bujee cords. But for me it's not working out.
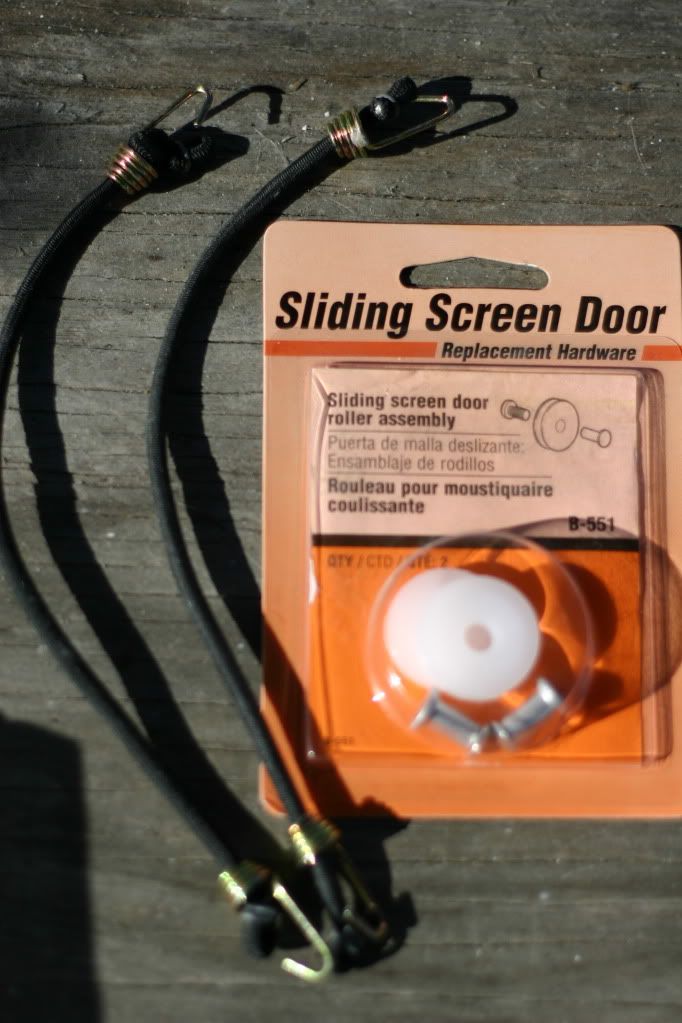
Using the same bunjee cords and wheels for a sliding screen door (home depot) and we will try to do it simular to how AD's suit is.
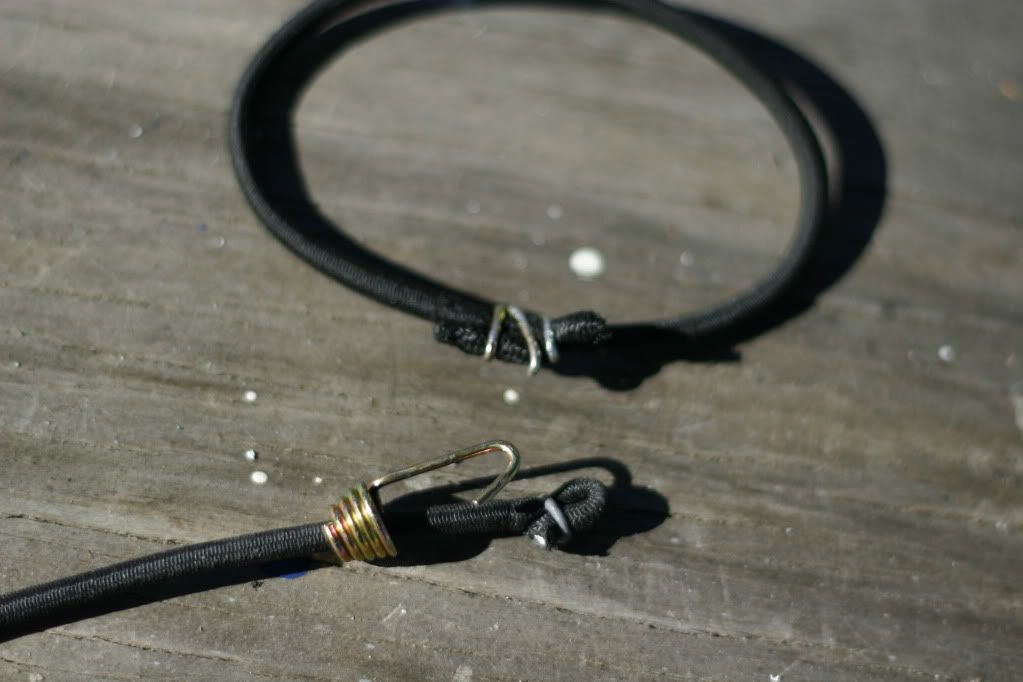
Remove the wire binder from both ends of the cord. Bring the two ends together and make a doughnut. Use the wire from the hook to bind the ends together.
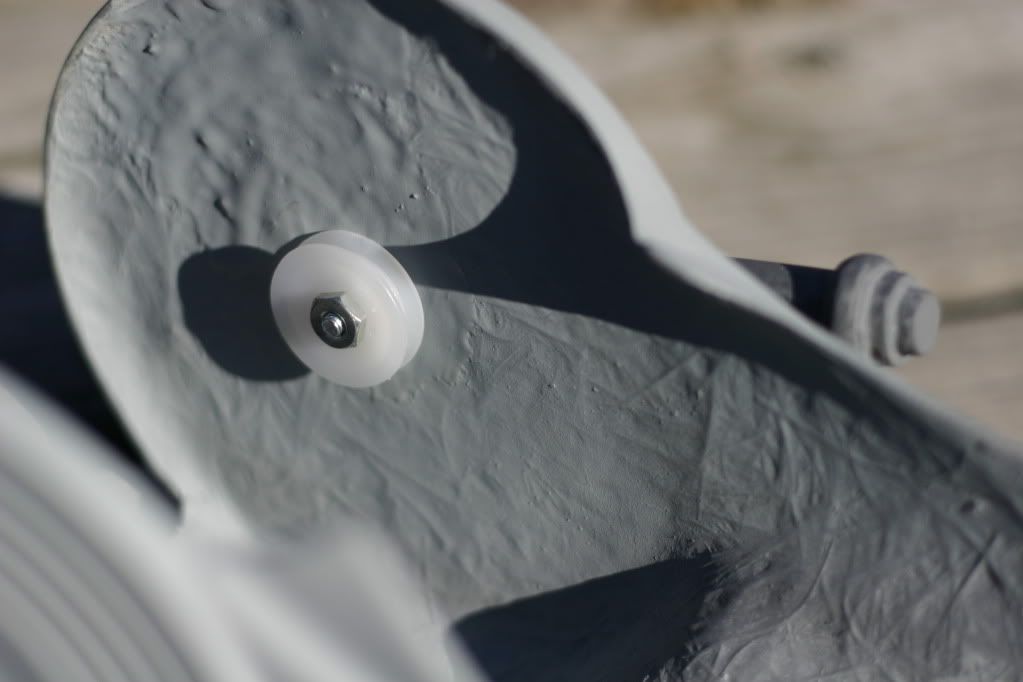
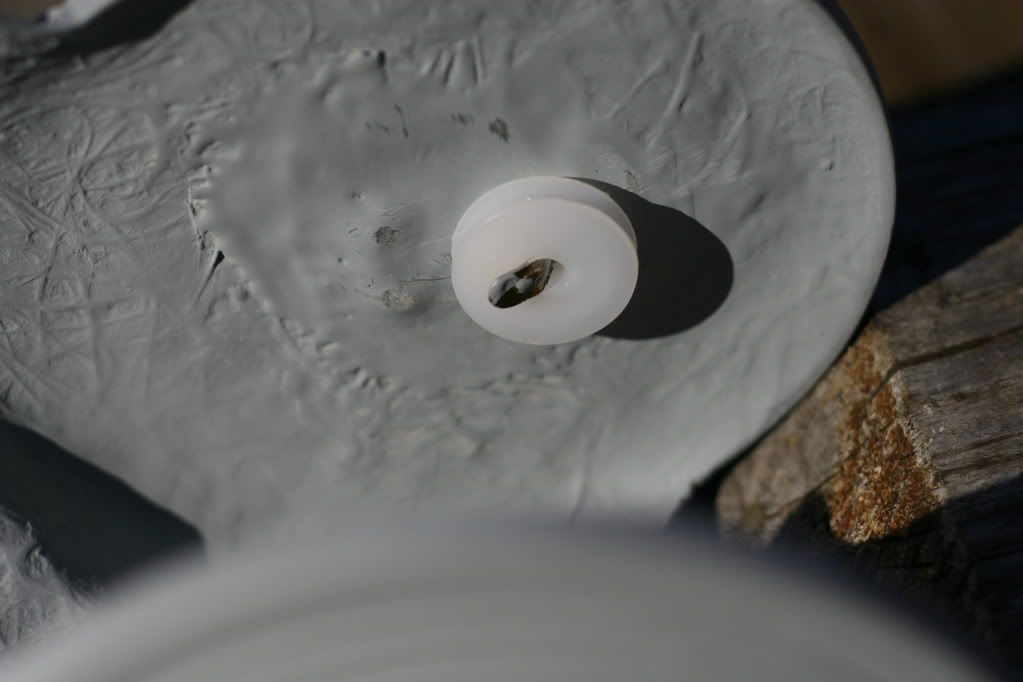
Since you already have a bolt attached to your knee greeblie simply install one of the wheels and use a washer.
For me I have already fiberglassed in the hooks for the other side so I'll use those for now. The wheels come with bolts so you can fiber glass those in for the other areas.
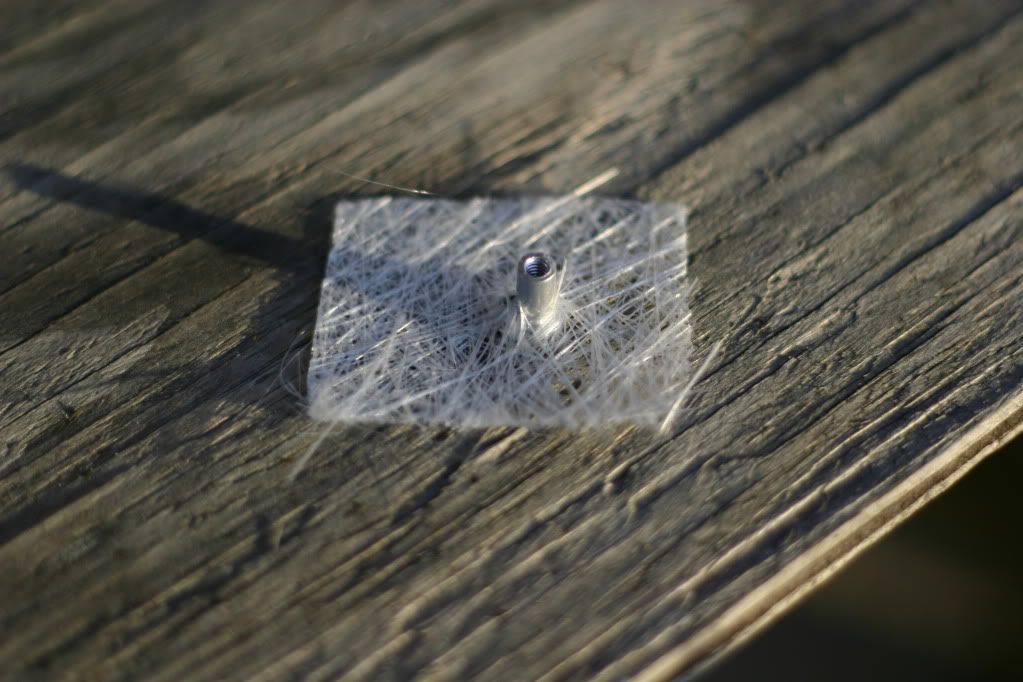
Before you install the wheels in the thighs you might want to try on the shorts and thighs together to determine where they can fit. You don't have to go up high. Once you determine where they will go, remove the primer in that area by sanding And mark the placement with a Sharpie. Before you fiberglass, cut a small square from mat, cut a hole and insert the provided stem from the door wheel. Brush on your resin, place another precut square over the resin, brush resin on then place the stem and mat on, followed by smaller strips of mat aroung the stem.
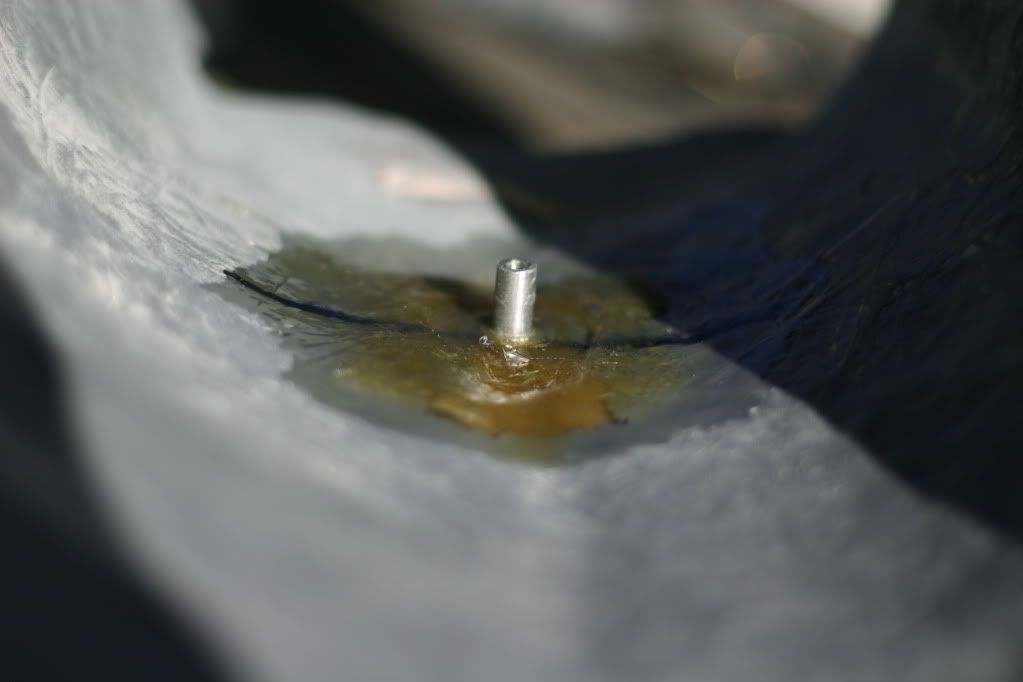
You may want to trim the stem with the wheel in place before you fiberglass it in place. You might need the room.
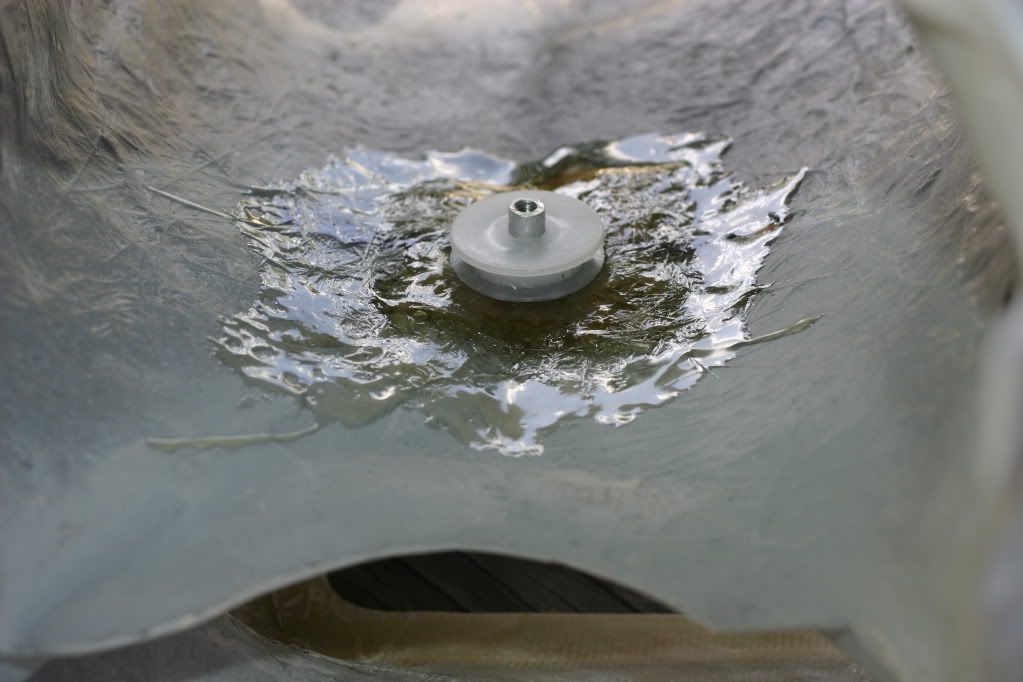
As you can see the stem is protruding over the wheel. I'll trim it later. I also plan on gluing each wheel down on the surface of the fiberglass to take the stress off of the stem.
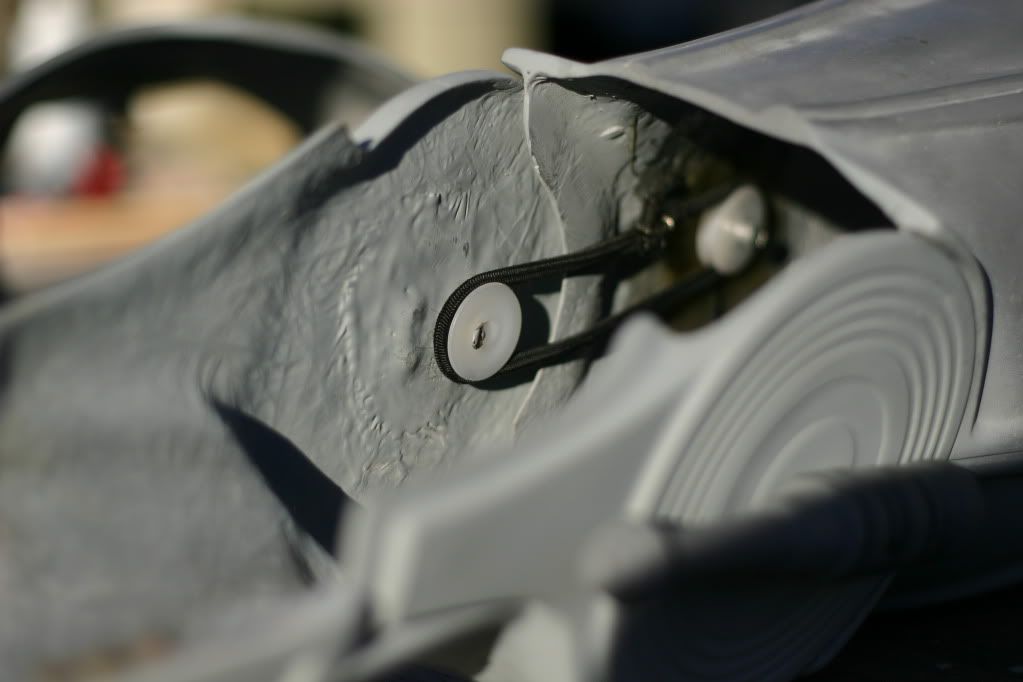
Attach the bunjee and screws and your set. If the bunjees slip off of the wheels you can always glue plastic circles to the top of the wheels.
Last edited by waldo kent, 12/30/2011, 7:59 pm
---
Jeffrey Kent
TK 5738
Facebook
SKYPE Me: jeff.kent63
|
|
12/30/2011, 7:45 pm
|
Link to this post
Send Email to waldo kent
Send PM to waldo kent
Blog
|
Darthpedge
Registered user
Registered: 02-2012
Location: UK
Posts: 323
Karma: 10 (+13/-3)
|
|
Reply | Quote
|
|
Re: Waldo's Build
Loving this info and some good advice for my build looking forward to more pictures of your build as a picture is like a thousand words, good work 
|
|
2/22/2012, 9:42 am
|
Link to this post
Send Email to Darthpedge
Send PM to Darthpedge
Blog
|
Trooper TK409
Head Administrator
Registered: 05-2005
Location: San Francisco, CA, USA
Posts: 677
Karma: 10 (+11/-1)
|
|
Reply | Quote
|
|
Re: Waldo's Build
Outstanding build and documentary photos, Mr. Kent! Thanks so much for sharing.
|
|
2/23/2012, 10:05 am
|
Link to this post
Send Email to Trooper TK409
|